In this phase of standing up my ELK home lab SIEM I am going to get my domain controller to start sending logs to ELK. In this instance I’ll use Beats which are, according to elastic, “free and open platform for single-purpose data shippers. They send data from hundreds or thousands of machines and systems to Logstash or Elasticsearch.” Additionally, I am going to set the group policy that governs logging for this domain.
Update Group Audit Policy
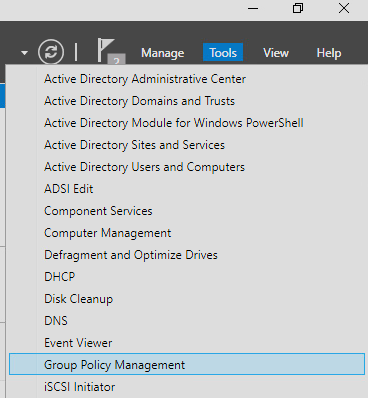
Updating the default logging settings across our domain will provide more useful data for our SIEM to ingest. From the Server Manager dashboard,
- Click the tools dropdown menu
- Select Group Policy Management
Default Domain Controller Policy
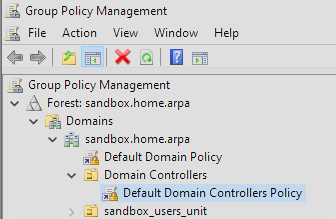
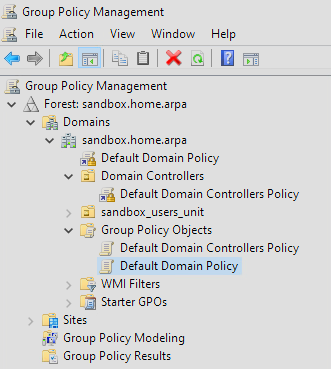
This will open a new window. On the nested list on the left-hand side. We are going to begin by setting the logging policy:
- Select your forest
- Select domains
- Select your.domain
- Select Domain Controllers
- Right click on Default Domain Controller Policy and select edit
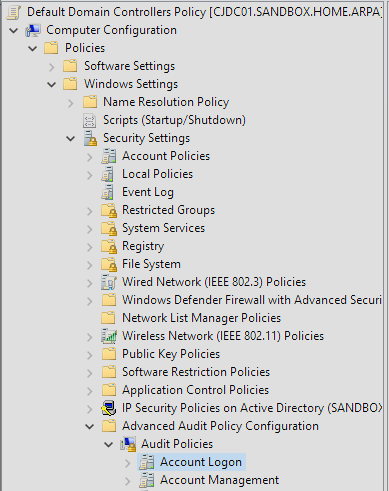
This will open a new window where we’ll set the logging policy for our domain controllers. There is another nested list on the left.
- Select Computer Configuration
- Select Policies
- Select Windows Settings
- Select Security Settings
- Select Advanced Audit Policies
- Select Audit Policies
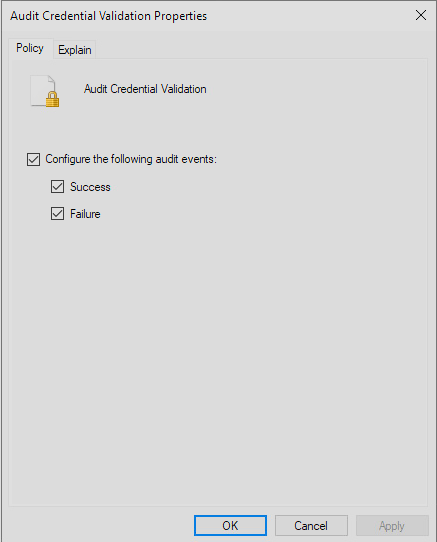
Here we find 10 audit policy groups we are going to update. Microsoft has an Audit Policy Recommendations Page https://learn.microsoft.com/en-us/windows-server/identity/ad-ds/plan/security-best-practices/audit-policy-recommendations. I used their “stronger” recommendations. On the Microsoft web page there are to lists, of recommended settings. The first set is for Windows endpoints, and the second is for servers. Since we are starting with our Domain Controller Policies, use teh second list for this section. To update the policies, select one of the ten categories, and the associated subcategories will show up in the right-hand section of the window. For Account login, there are four categories shown in the image below.
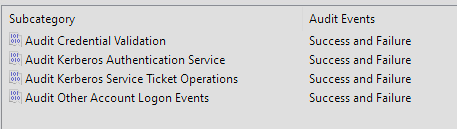
To update these:
- Review the Microsoft recommended setting
- Right click on the title
- Select Properties
- Select the “Configure the following audit events” checkbox
- Check the box for “Success” and/or “Failure” based on the Microsoft recommendation
- If there is no recommendation, skip the subcategory leave it as “Not Configured”
- Repeat these steps for each subcategory under the ten policy groups
Default Domain Policy
Once you’ve completed the updates to the Default Domain Controller Policy, close out of that window, and head back over to the Group Policy Management window. Now we are going to update the Default Domain Policy that will effect all of our endpoints. The first few sections of the menu should already be expanded if you are doing this immediately after updating the domain controller policy, but this list covers the entire menu incase you took a break and it closed.
- From the Group Policy Management Window
- Select your forest
- Select domains
- Select your.domain
- Select Group Policy Objects
- Right click on Default Domain Policy and select edit
- This opens another window.
Int he new Group Policy Management Window,
- Under Computer Configuration
- Select Policies
- Select Windows Settings
- Select Security Settings
- Select Advanced Audit Policy Configuration
- Select Audit Policies.
- This will contain the same list of 10 policy groups we just saw under the domain controller policy
- This time, use the windows endpoint audit policy recommendations from the same Microsoft link
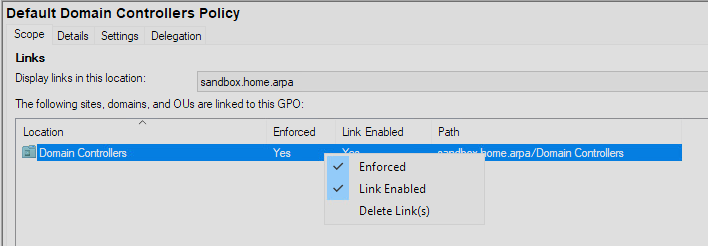
Once you are finished, close that window. Back in the main Group Policy Management window, we need to set our policy to “enforce.” Select each of the policies that we updated “Default Domain Policy” and “Default Domain Controller Policy.”
When highlighted, you will see information about the policy on the right-hand side of the window. Right click on the single line of data and check the “Enforced” option. Make sure to do this for both policies we updated.
Installing Beats on Windows Domain Controller
Our next step is to get logs from our Domain Controller over to our Elastic server. on the Windows 10 machine, we used Elastic Fleet and Elastic Agent for this purpose. Here, we are going to use a lighter weight Beat called Winlogbeat to send our logs to the Elastic Server.
Install Sysmon
First, we need to install Sysmon in the same way we did on the Windows 10 machine.
- Download Sysmon https://learn.microsoft.com/en-us/sysinternals/downloads/sysmon
- Unzip it
- Create a config.xml file in the C:/Windows directory using the Swift on Security template. https://github.com/SwiftOnSecurity/sysmon-config
- Install Sysmon with the command below
- NOTE: since .\ is a relative path, you must be in the uncompressed Sysmon directory to execute this.
.\sysmon64.exe -accepteula -i c:\windows\config.xmlInstall Winlogbeat
Next, we will install something to collect and send the log data on the Domain Controller. Beats are lightweight data shippers that send data to elastic. We will use the Winlogbeat on this server.
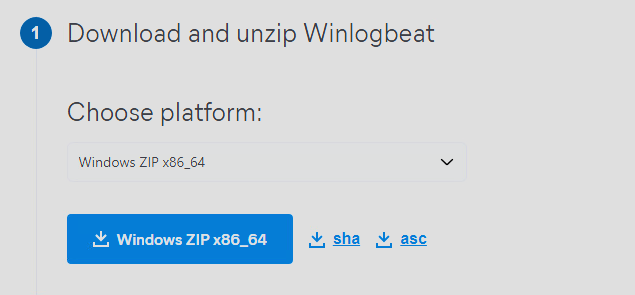
- Download the zip file to the Domain Controller from https://www.elastic.co/downloads/beats/winlogbeat
- Extract the files into the C:/Program Files directory
- Rename the folder “winlogbeat”
- Open powershell with administrator rights
- Navigate to C:\Program Files\winlogbeat
- Run the install script with the following command
- NOTE: I had an error because this file is unsigned. See below if you encounter the same error.
.\install-service-winlogbeat.ps1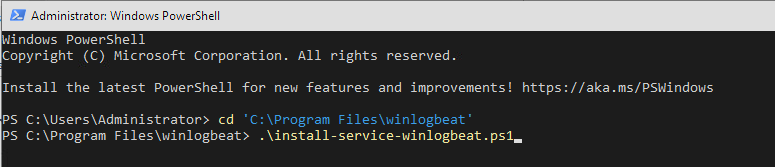
If you have an error running the script, you can check your current PowerShell execution policies with this command. It will likely return “RemoteSigned” which is the default policy and requires trusted digital signatures.
Get-Execution-PolicyBefore we override this and run it, we need to validate the hash value from Elastic to ensure the file is safe. This is a good practice fall all software download. First, download the hash value from the win log beat download page. We’ll use the “sha” download button next to the main download button.
Now back in PowerShell,
- Navigate to the download directory
- Use the cat command to read the contents of the new .sha512 file
- Then we will string a few commands together to compute a hash value for the file and compare it to the expected hash value we downloaded.
- You will need to copy the hash value from he downloaded .sha512 file into the command.
- The output should say “True” showing that the file is unmodified from the version elastic intended for download. Here are the commands.
Cat winlogbeat-8.13.1-windows-x86_64.zip.sha512
(Get-FileHash winlogbeat-8.13.1-windows-x86_64.zip -A SHA512).hash -eq “INSERT THE .SHA512 HASH VALUE HERE”
Now that we trust the file is from elastic and not modified. We can use the unblock file command to allow us to run it. Then run the install script.
Unblock-File install-service-winlogbeat.ps1
.\install-service-winlogbeat.ps1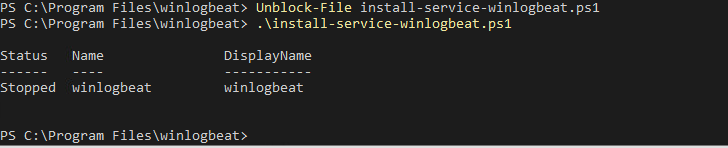
We are going to need to give our program credentials to access our server, and ensure that Windows accepts the self signed certificate. One option for our password, is to just put it in the .yml file. This is not secure however because it will be stored in plane text. We will create a keystore and our Elastic password to it. Use the two commands below. The second command will prompt you for your password.
winlogbeat keystore create
winlogbeat keystore add ES_PWD
Check this elastic keystore link for some other commands if you need to replace the password or something else. https://www.elastic.co/guide/en/beats/winlogbeat/current/keystore.html
Now we are going to import our ca.crt from the Elastic server so you Domain Controller will trust it. This will be the same as we did for our windows 10 machine. Make sure you are in the C:\Windows\System32 directory or change the file path in the command below. I had issues running this full string, so I split it up into the second set of commands to download, and then import the certificate.
scp elk@192.168.113.25:/ca.crt ./
Import-Certificate -CertStoreLocation Cert:\LocalMachine\Root -FilePath ./ca.crt
scp elk@192.168.113.25:/ca.crt ./
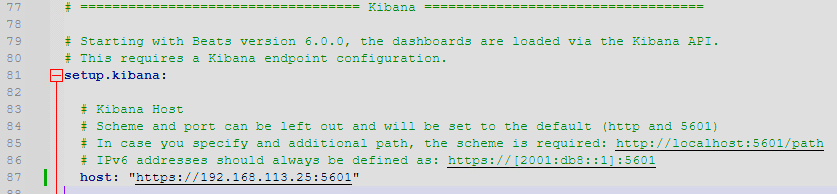
Import-Certificate -CertStoreLocation Cert:\LocalMachine\Root -FilePath ./ca.crtNow we need to update the winlogbeat.yml configuration file. Navigate to the C:\Program Files\winlogbeat folder in windows explorer and open the file using a text editor. I installed notepad++ for this. Make the following Changes:
- Find the Kibana section
- Uncomment the host line and add in the elastic server URL/IP address and port for Kibana
- Find the Elasticsearch Output section
- Update the hosts with the URL/IP address and port of the Elastic server
- Change the protocol to https
- Add your elastic password or “${ES_PWD}” to pull from the keystore
- WARNING! putting your password in the file like this is a terrible practice. Use the Keystore to securely store your password.
- Make sure you use “https” for the links. I put “http” on my first attempt and could not connect tot he elastic server.

After saving the file we can test that our config is correctly formatted and that the we can communicate with the server using these commands.
.\winlogbeat test config
.\winlogbeat test output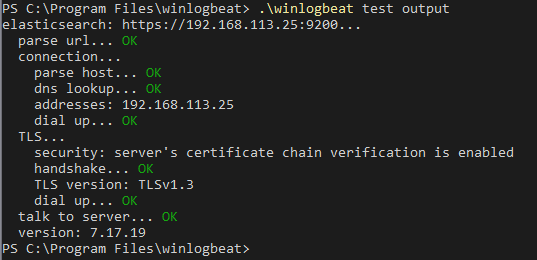
Now we’ll run setup. This is were i had issues when i mistakenly put “http” in the config file. The “test output” command above will identify any communication errors before running setup.
.\winlogbeat.exe setup -e
Now start the service with this command.
Start-Service winlogbeat
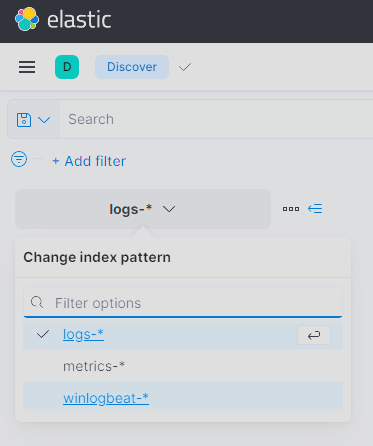
Back in the elastic web GUI, select Discover under the Analytics section for the dropdown menu.

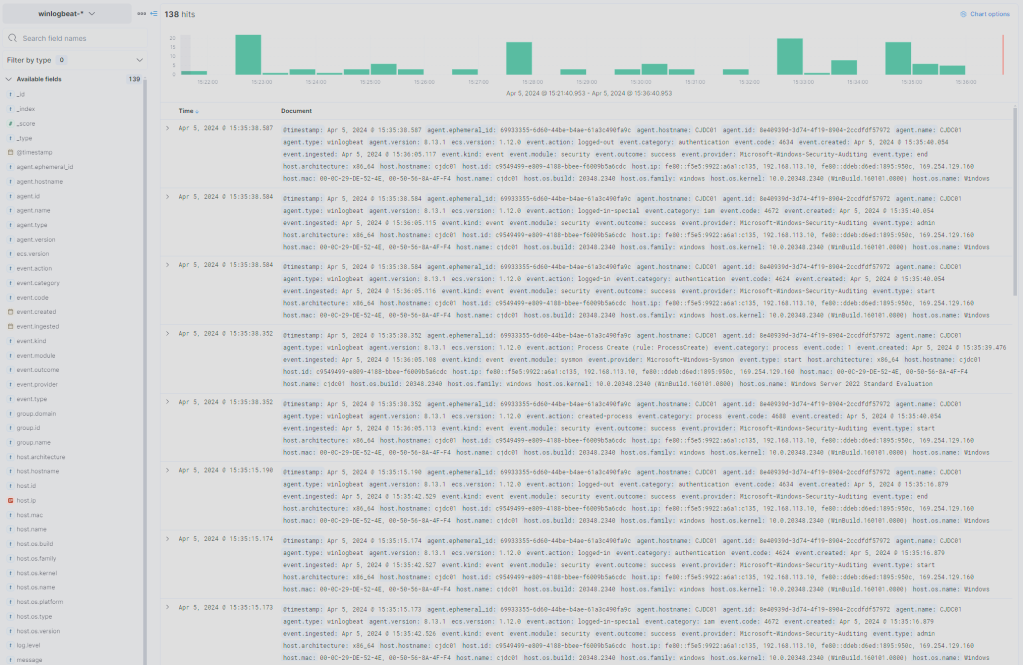
Then click the change index pattern dropdown and select winlogbeats. The new logs coming in will show in the main window.
And there it is, we are successfully bringing logs in from he domain controller. In the next installment, I’ll be building a few network services running on Linux that well start collecting data from.


Leave a comment