
In this post, I’ll be installing the trial version of Splunk Enterprise 9.3.1. This version offers a free 60-day trial with up to 500 MB/day of indexing capacity, which is perfect for testing in my small home lab environment. My goal is to get hands-on experience with Splunk as I study for the Splunk Certified Cybersecurity Defense Analyst certification.
I’ve been working with the ELK stack as my SIEM of choice, but I’ve noticed that many organizations I’m applying to use Splunk. So for now, I’m shifting focus to Splunk, but I plan to circle back and create more content around ELK in the future. If you’re interested in the certification I’m pursuing, you can check it out here:
Splunk Certified Cybersecurity Defense Analyst Certification.
For training, I’ll be using the free resources available on the Splunk website and working through examples in my home lab. Splunk offers a learning path with 11 courses for this certification, which you can find in their course catalog.
Lab Setup
I’ve set up a virtual machine (VM) running Ubuntu Server 22.04.3 LTS for this project. I allocated 8 CPU cores, 8 GB of RAM, and 120 GB of storage for the VM. This is my first time setting it up, so I’ll report back later if I encounter any performance issues or need to adjust these settings.
The official Splunk documentation is very thorough. I followed their installation instructions for Splunk 9.3.1, which can be found here.
Before diving into the Splunk installation, I highly recommend updating and upgrading your Ubuntu installation. Also, consider taking a snapshot of your VM for easy rollback if needed.
sudo apt update && sudo apt upgrade
Downloading and Installing Splunk
Once you have your Ubuntu server up and running, download the .deb package for Splunk using wget from the Splunk website. You’ll need to sign up for a Splunk account to access the download. Splunk offers multiple installation packages, including .deb, .rpm, .tgz, as well as Windows and macOS versions.
wget -O splunk-9.3.1-0b8d769cb912-linux-2.6-amd64.deb "https://download.splunk.com/products/splunk/releases/9.3.1/linux/splunk-9.3.1-0b8d769cb912-linux-2.6-amd64.deb"
Use dpkg to install Splunk.
dpkg -i splunk-9.3.1-0b8d769cb912-linux-2.6-amd64.deb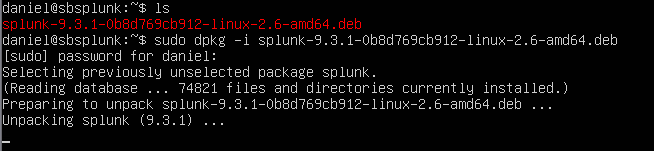
The Splunk .deb installs into the /opt/splunk directory by default.

Starting Splunk and Accessing the Web Interface
To start the Splunk web interface, navigate to the “bin” directory within the Splunk installation directory:
cd /opt/splunk/binNext, run the following command to start Splunk. This command requires sudo privileges as it will create some new directories during the process:
sudo ./splunk start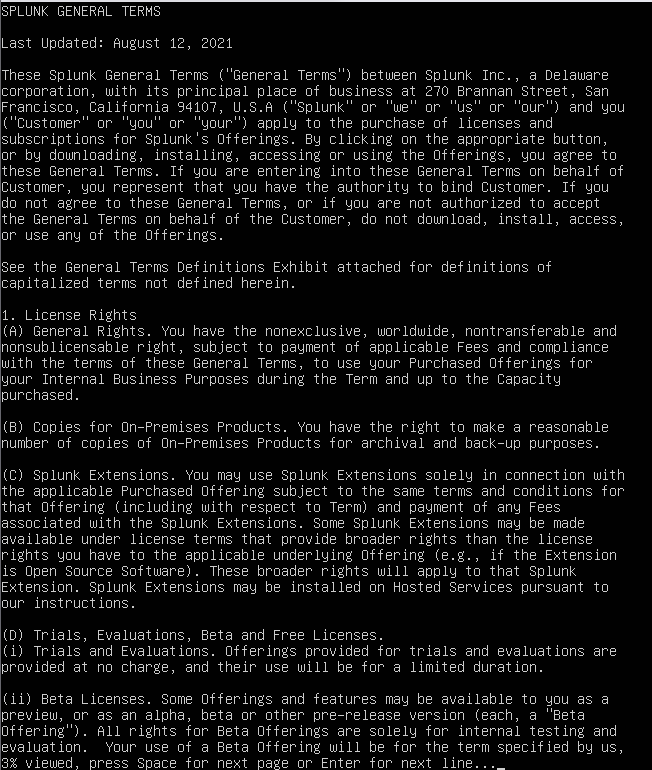
You’ll be prompted to agree to the license agreement. Press the space bar to scroll through the text, and then agree to the terms.
After agreeing to the license, you’ll be asked to set up an admin username and password. I chose splunk_admin as the username. Next, the Slpunk web interface will launch.

Once Splunk is running, you can access the web interface by navigating to localhost:8000 if you’re using a browser on the same machine. Otherwise, use the server’s external IP address followed by :8000 to access the interface.
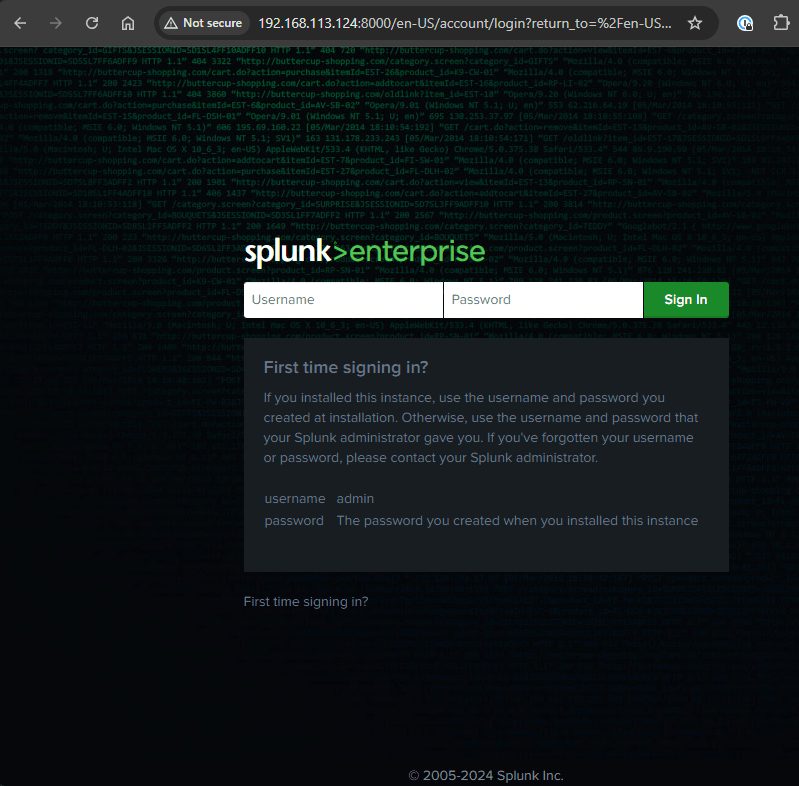
Log in with the username and password you just created to access to the Splunk main page.

Now that we have a working installation of Splunk Enterprise, the foundation is set for more in-depth exploration. In the coming weeks, I’ll dive into configuring Splunk to ingest data, running reports, and creating visualizations to make sense of that data. Stay tuned for those upcoming posts as I continue to build on this setup and share my experiences along the way.


Leave a comment