Now that we have Splunk Enterprise up and running, it’s time to start forwarding logs for analysis. In this post, I’ll walk you through setting up the Splunk Universal Forwarder on Windows and Linux systems in a lab environment. By the end, we’ll have logs streaming to Splunk, ready for visualization and analysis.
Download the Splunk Universal Forwarder
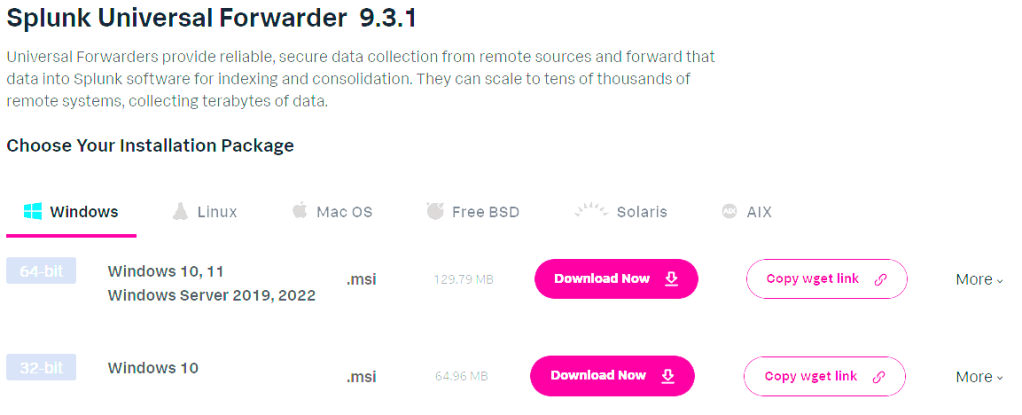
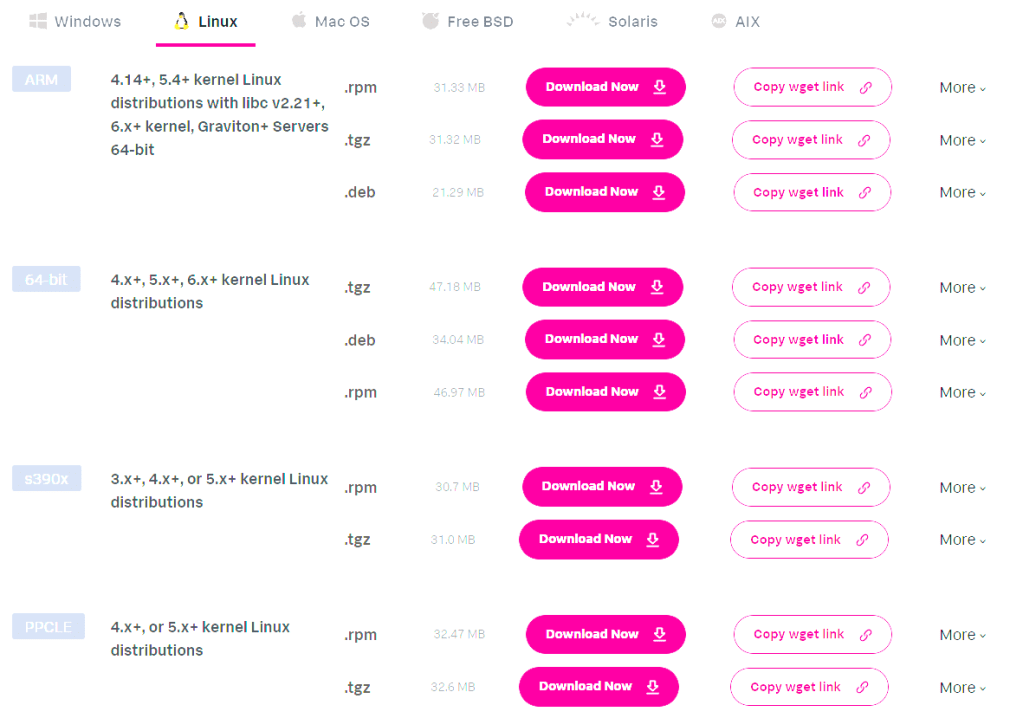
Start by downloading the Splunk Universal Forwarder. I chose the .msi file for 64-bit Windows and the .deb file for 64-bit Linux, transferring both via USB to my VMs. I put these on a USB drive to pass through to my VMs, but you can also download them directly into the VMs.
Installing the Universal Forwarder on Windows
We’ll start with the Windows Domain Controller setup.
- Move the
.msifile to the target machine and launch the installer.- Tip: Take a snapshot of your server before beginning.
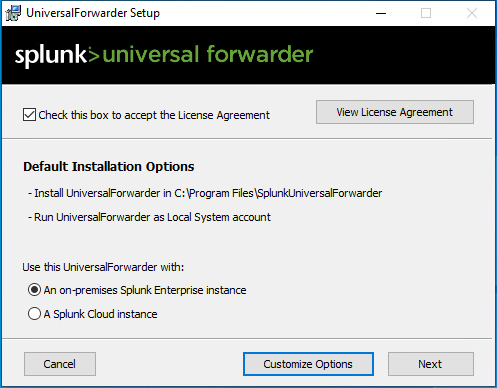
- Accept the License Agreement.
- Leave “on-premises” selected.
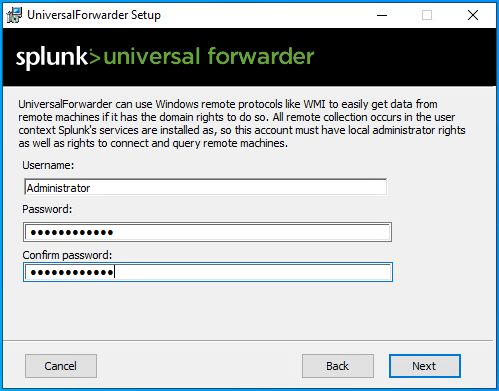
- Create an administrator account for the Universal Forwarder.
- Enter the IP address of your Splunk Server, leaving the port at its default setting.
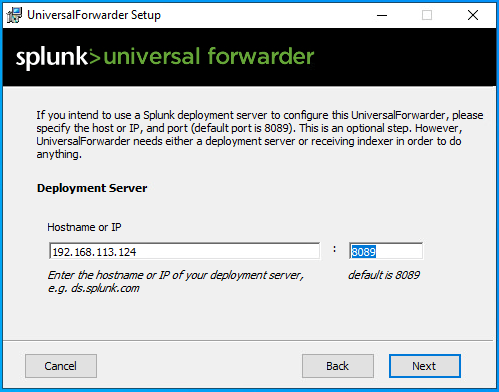
- Confirm the same IP address for the indexer with the default port.

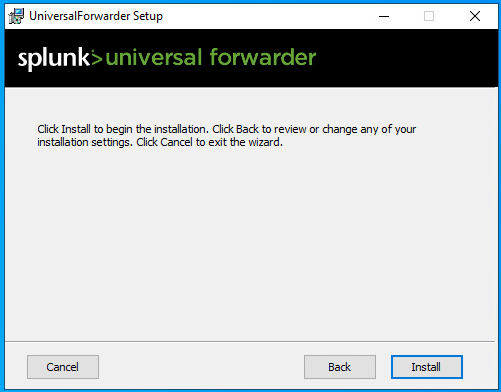
- Click Install and wait for the process to complete.
- Click Finish, and take another snapshot of the server.

Installing the Universal Forwarder on Linux
I created a quick Ubuntu Desktop VM to test the Universal Forwarder on Linux. This will let me collect and analyze data from multiple sources over time.
- Create a Splunk User and Group
- Use a low-privilege account for Splunk:
- Note: In some cases, such as with Ubuntu, creating the user may automatically create the group.
useradd -m splunkfwd
groupadd splunkfwd
- Set Splunk Home Directory
- I chose to create a Splunk directory in
/home, although the Splunk documentation allows flexibility here.
- I chose to create a Splunk directory in
export SPLUNK_HOME="/opt/splunkforwarder"
mkdir $SPLUNK_HOME
- Move and Install the
.debPackage- Place the forwarder package in
$SPLUNK_HOME: - Replace the package name in the code below
- Place the forwarder package in
sudo mv [splunkforwarder_package_name.deb] $SPLUNK_HOME
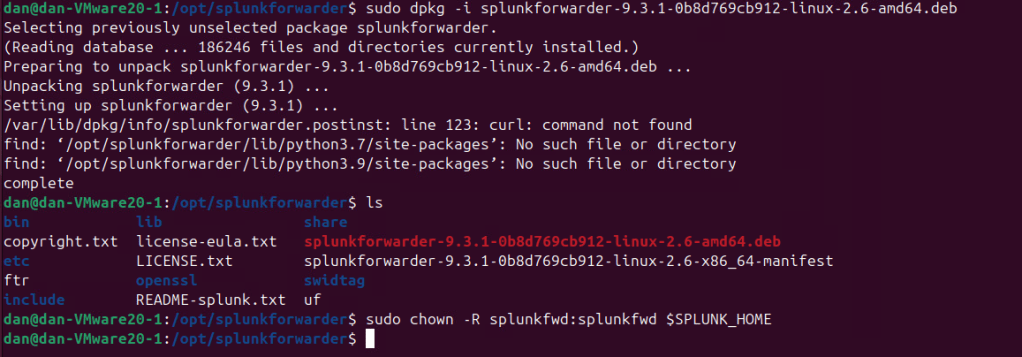
dpkg -i [splunkforwarder_package_name.deb]

- Assign Ownership
- Use
chownto ensure only the Splunk user has permissions:
- Use
chown -R splunkfwd:splunkfwd $SPLUNK_HOME
- Enable Boot Start and Start Forwarder
- Ensure the forwarder starts at boot and then start it:
- If you add –accept-license the installer will skip past the license agreement
sudo $SPLUNK_HOME/bin/splunk enable boot-start
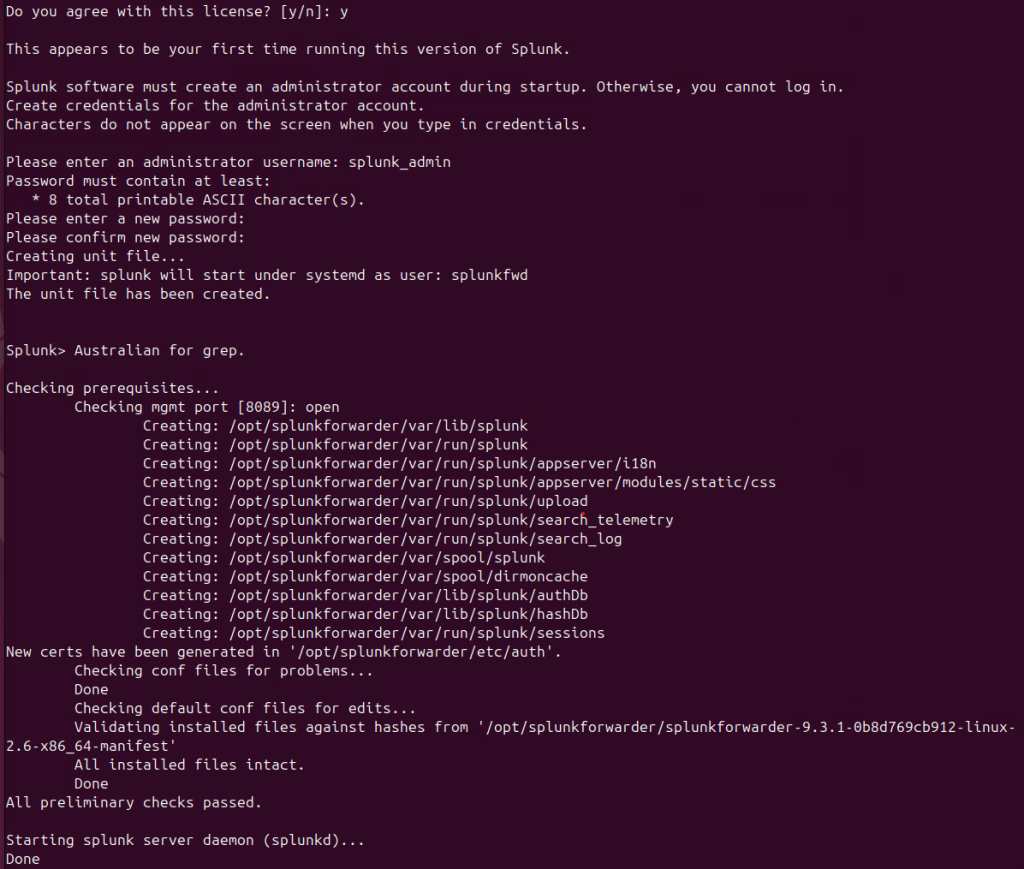
sudo $SPLUNK_HOME/bin/splunk start
sudo $SPLUNK_HOME/bin/splunk start --accept-license- Set Admin Credentials
- Assign a username and password for administrative access. I used the same credentials as my main Splunk installation.
- Add the Forward Server and Deployment Client
- Configure the IP address and port to forward logs to the main Splunk server:
sudo $SPLUNK_HOME/bin/splunk add forward-server 192.168.113.124:9997
sudo $SPLUNK_HOME/bin/splunk set deploy-poll 192.168.113.124:8089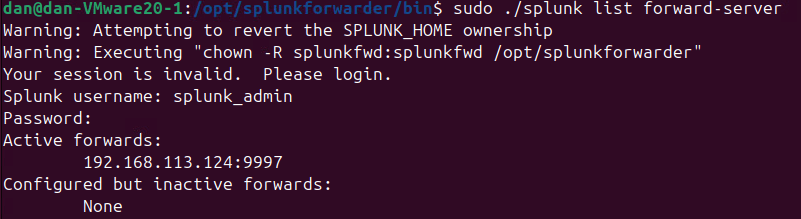

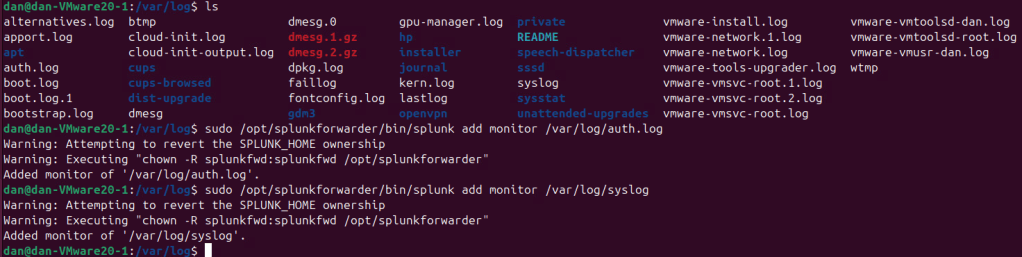
Adding Logs for Forwarding
- From the CLI (Linux)
- I chose to add the
auth.logandsyslogto monitor in this example: - NOTE: I removed syslog after learning more about it. I recommend additional study before trying to add syslog due to issues with formatting.
- NOTE: I cover adding these in the web GUI down below.
- I chose to add the
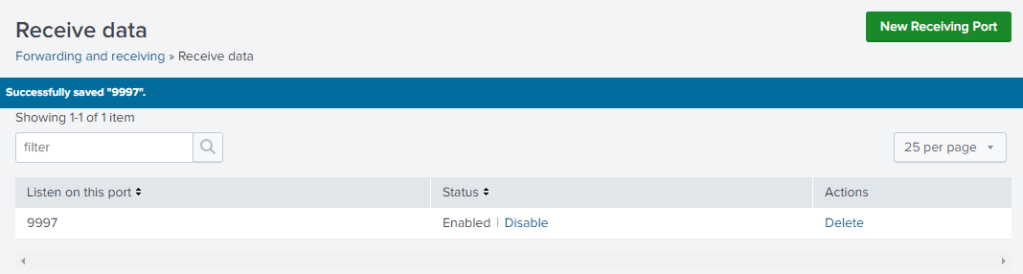
Configure Splunk to Receive Logs
- Within the Splunk web interface, go to Settings > Forwarding and Receiving and configure port 9997 as the receiving port.
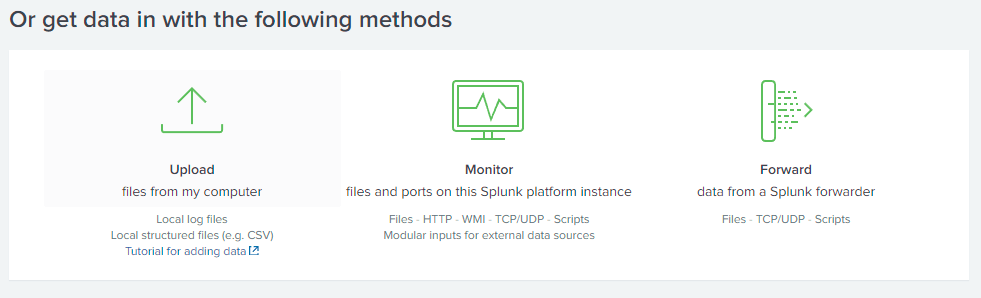
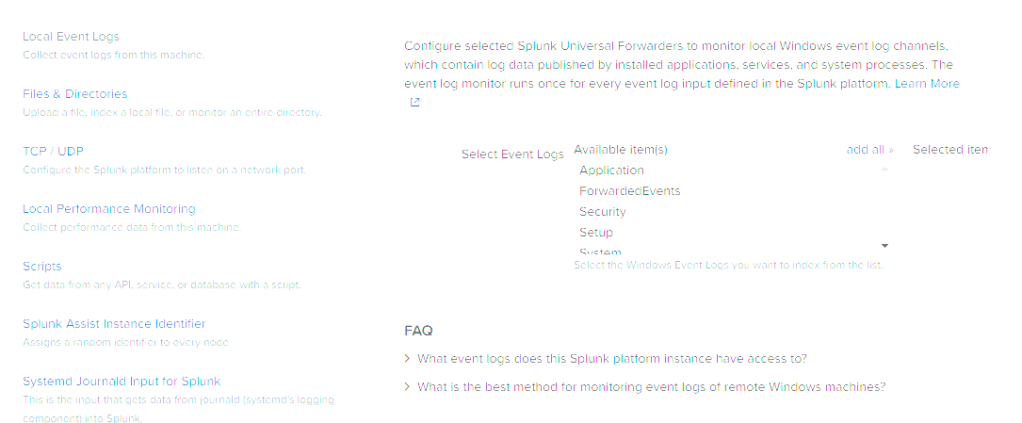
Adding Windows Data Source to Splunk
- Select “Add Data” in the Splunk interface.

- Select Forward
- Choose the Domain Controller in the Available Hosts box.
- Type “Domain Controller” under the New Server Class Name.

- Select Local Log Events then Add All
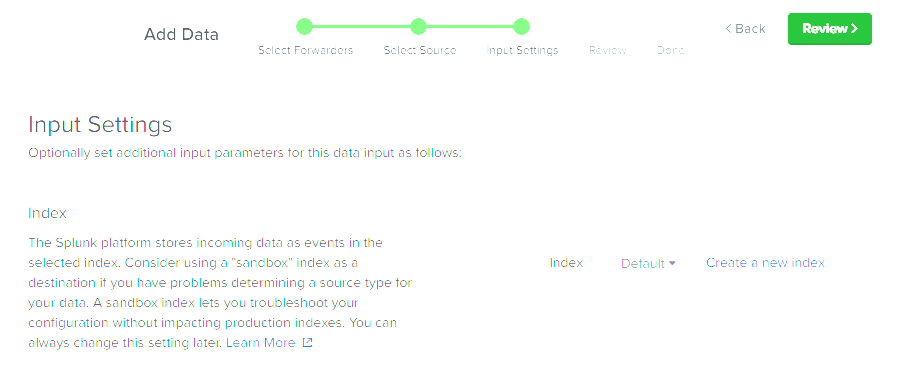
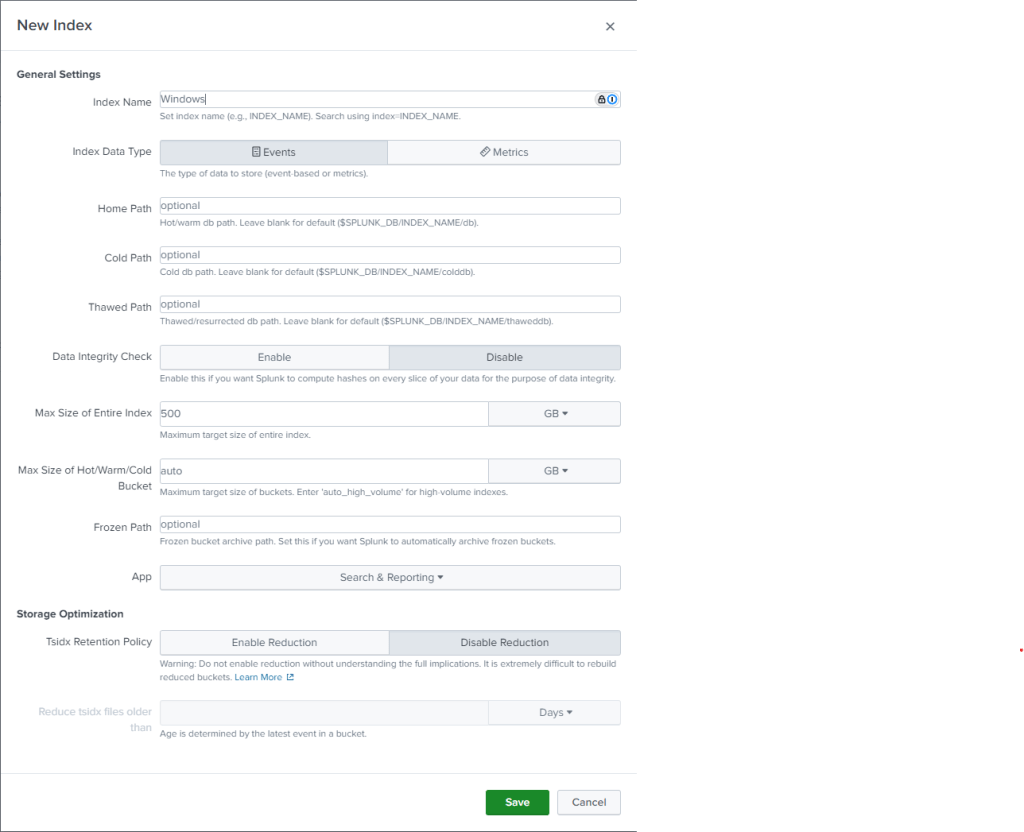
- Select Create a New Index
- Name the new index Windows and leave the other settings as default and select Save.
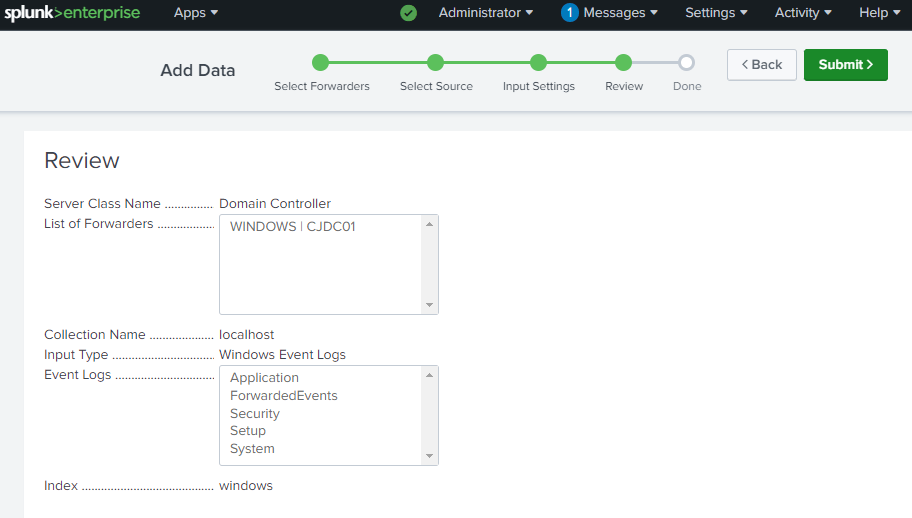
- Select Review and then Submit to finalize.
For other Windows clients, repeat these steps, but set the server class as windows-client.
Adding Linux Data Source to Splunk
- Select “Add Data” and Forward.
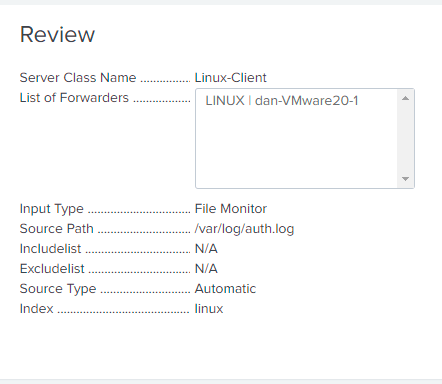
- Select the Linux machine in Available Hosts and type “Linux-Client” for the Server Class Name.
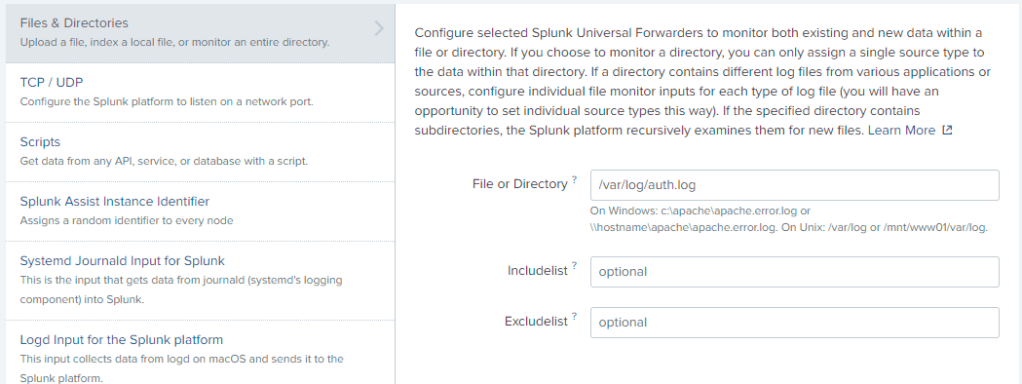
- Select Files & Directories.
- Under Files or Directories, add
/var/log/auth.log.
- Create a new index named Linux, review the settings, and click Submit.
Testing Windows Data Source
Use the following search to verify data from your Windows hosts:
source="WinEventLog:*" index="windows"
Testing Linux Data Source
Use the following search to verify data from your Linux hosts:
source="/var/log/auth.log" index="linux"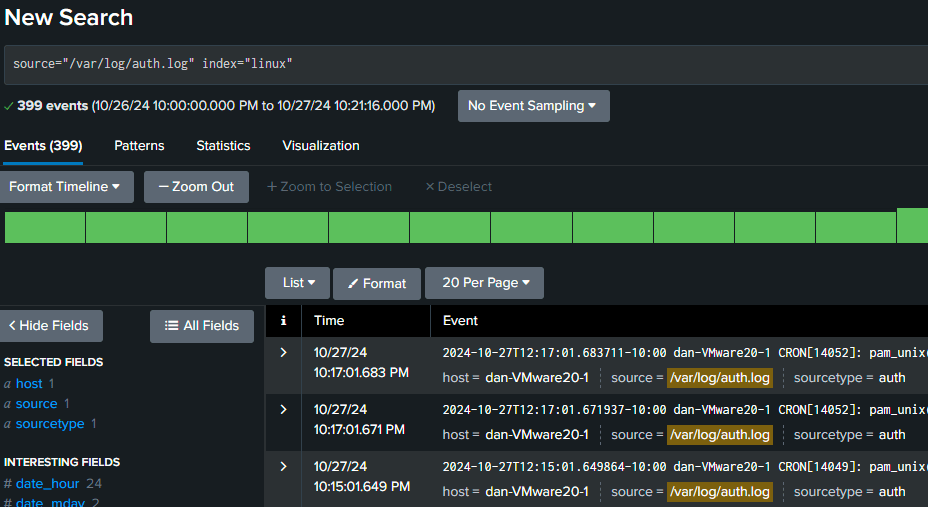
Conclusion
With our logs now populating in Splunk, we’re ready to explore what Splunk can do. In the coming posts, I’ll dive into navigating the interface, setting up searches, and creating visualizations for deeper insights. Stay tuned!


Leave a comment